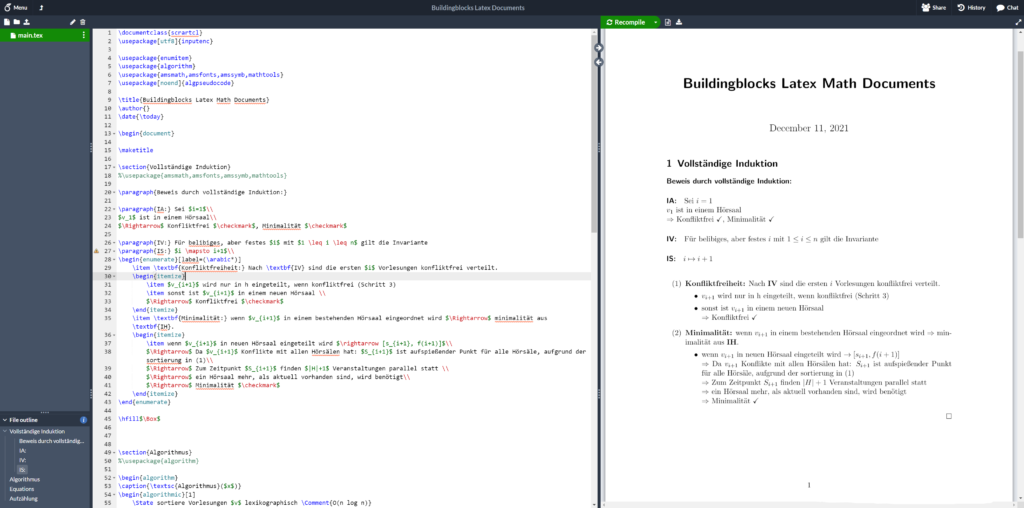
Using LaTeX regularly for University, i was once searching for a good and easy way to write my latex-files. I then stumbled upon “Overleaf”. It’s a web-based multi-user platform for creating latex-documents. It gives you a split-screen on the web with a good editor on the left and your compiled PDF on the right. It also comes with all latex-extensions – so there is no more searching for how to install X and Y.
There is a free version to be used on their Servers, good enough for simple assignments. But once you get to writing bigger essays or a thesis, the basic free version does not have enough resources to compile your complex document. At least that ist true for the thesis-template I got. Now there are two possibilities: either you get a paid subscription to get more compilation-time or you setup your own instance of overleaf on your own server. Obviously I chose the latter self hosting option and got into hours of work, because I did not know, what I was doing. But in this article, I will save you those hours and just show you, how to easily install Overleaf Community Edition for free on your own Server.
I just created a new Instance on a new Debian-12 Server, so these Steps will be shown here. If you got a differing System, the steps will be similar but not the same. So you should just use google to translate my steps to your System.
These steps were last verified / updated to work on 2024-05-07.
I installed my instance as root on a local Server, that will never be seen on the Internet. If your plans differ, please take precautions!
Step 0: Update && upgrade
Obviously we want to work on the newest packages, so please upgrade your System:
apt update && apt full-upgradeStep 1: Install docker
First up we will need docker and docker-compose. I have my default setup procedure documented here. In the past I followed this tutorial by DigitalOcean: https://www.digitalocean.com/community/tutorials/how-to-install-and-use-docker-on-debian-10
Here is the short form:
apt install apt-transport-https ca-certificates curl gnupg2 software-properties-common
curl -fsSL https://download.docker.com/linux/debian/gpg | apt-key add -
add-apt-repository "deb [arch=$(dpkg --print-architecture)] https://download.docker.com/linux/debian $(lsb_release -cs) stable"
apt update
apt install docker-ce docker-compose
To check, if docker is running now, type:
systemctl status dockerYou should see a positive response.
To also check if you have installed docker-compose successfully – check its version with:
docker-compose --versionStep2: Install Overleaf
Next up, we will use the Overleaf Toolkit to install Overleaf. You can find their Quick-Start-Guide here: https://github.com/overleaf/toolkit/blob/master/doc/quick-start-guide.md
Here is a short summary. First clone that git-repo to your machine:
git clone https://github.com/overleaf/toolkit.git ./overleafand cd into the newly created folder:
cd overleafTo create the local configuration, run the following command as is:
bin/initIf you also want a quick-n-dirty install, you want to update config/overleaf.rc with your favorite editor (it’s vim for me) and change the SHARELATEX_LISTEN_IP to 0.0.0.0:
vim config/overleaf.rcOVERLEAF_LISTEN_IP=0.0.0.0This will enable you to directly access Overleaf on your servers local IP.
Next you can start and let Overleaf install everything with:
bin/upThis will be an attached session. Later you can use
bin/startto start Overleaf detached. This should also enable Overleaf to start with your Server, so it always runs when your server is running.
If the install was successful, you can go to your IP in your Browser and the Login-Screen of Overleaf. To create an admin-account however you want to go to:
http://your-ip-here/launchpadAdd your credentials and then go back to the login-page to log in.
And here you are with a finished install of Overleaf.
However I found that my Thesis-Template is not able to be compiled in this basic install. So I have to update TeX Live, the actual compiler Overleaf uses. This will be described in the next Step. If you find your latex-documents to be compiled just fine, then just stop here, explore and enjoy Overleaf.
Step3: Update TeX Live
Up front: The Update will take a lot of time! Once you entered the commands (which takes less than 5 mins) the update will take more than an hour – on my hardware it took about 1.5 hours. So make sure you got time for that!
First up, go into your Overleaf-docker-container. You must there fore be in the overleaf-toolkit-folder we created in Step 2. From here you can execute the following command:
bin/shellNow that you are in the docker-container, you can download the tex-live update-script:
wget https://mirror.clientvps.com/CTAN/systems/texlive/tlnet/install-tl-unx.tar.gzNext up: extract the folder and cd into it:
tar -xf install-tl-unx.tar.gz
cd install-tl-2*
Now you can start the perl-installscript with:
perl install-tlIt might ask you, if you want to use previous configs, I just denied that. Next start the installation with i when it gives you the opportunity:
Enter command: i
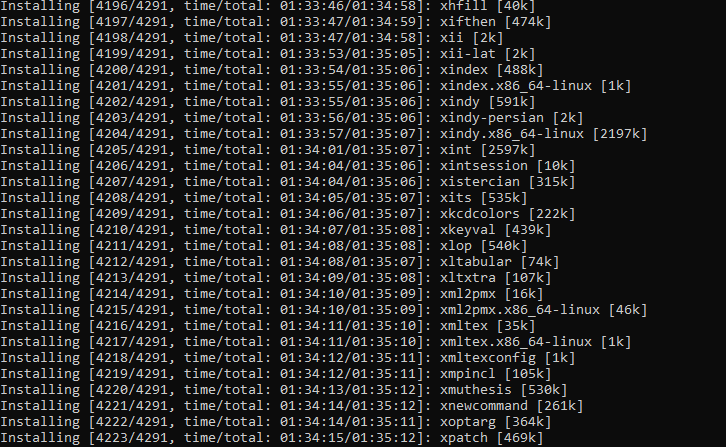
Now it will work and work and work, you will see that it is going to install over 4000 packages, so be patient.
After the installation is done, i restarted the Server to be on the save side and enjoyed by perfectly functioning Overleaf-Server.
And now go and enjoy your perfectly working and up-to-date LaTeX Server that is self hosted.
FAQ / Common Problems
I have Problems while starting my MongoDB docker container, how do I fix this?
By now, Overleaf requires the use of MongoDB in version 5.0+ which requires the CPU to support the AVX instruction set. I have already worked with two somewhat recent servers that do not support this and therefore overleaf does not work.
To check if your CPU supports AVX, you can use the following command. If this does not return anything, this means you can’t use this CPU to host your own overleaf instance… 🙁
grep -o 'avx[^ ]*' /proc/cpuinfoChangelog
2024-05-07: Updated and checked to still work.
2022-10-26: Improve readability
2021-12-11: Initial post
Good post. I learn something totally new and challenging on blogs I stumbleupon every day. It will always be interesting to read through articles from other writers and use a little something from other sites.
Does this install allow for collaborative work?
Hi, yes it does. You can let others create their own account on your overleaf-server and then share your project with them! Your Server needs to be accessible to them of course 😉
Thank you!!
Could you make a tutorial on how to host this on a server, and login via a browser? Would be very usefull, and I can’t seem to find this anywhere online. Thanks 🙂
is it possible to change the save location of overleaf to the server Hard drive ?
Thank you for your detailed tutorial! This is very helpful!